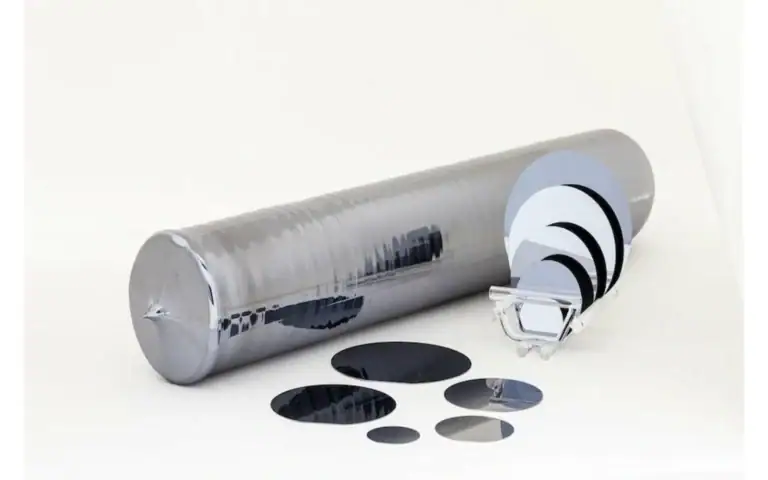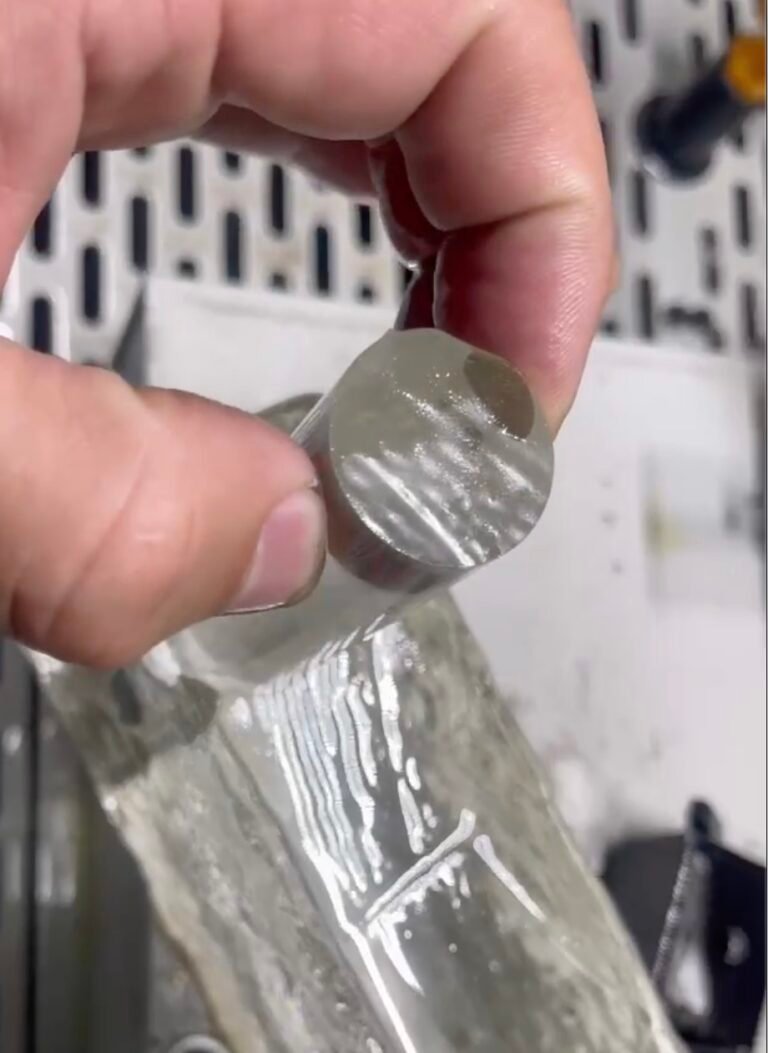
Precision slicing starts with a clear acceptance specification: what material enters the machine, what geometry must leave it, and how the cut will be measured. For silicon, sapphire and technical ceramics, a smooth-looking surface alone is not enough to approve a process. Thickness, edge condition and the allowance for subsequent finishing should be agreed before comparing equipment.
This guide brings those decisions together so that a cutting trial can answer a production question, rather than simply demonstrate that a material can be cut.
What should a precision slicing specification include?
Start with the drawing and the incoming blank. State the material grade, dimensions, required cut direction and any known variation between batches. For a crystal, identify the required orientation instead of assuming that every slicing direction is interchangeable. Describe whether the job is an individual section or a batch of parallel slices.
- Incoming material: grade, blank geometry, dimensions and condition.
- Finished part: target geometry, nominal thickness and drawing tolerances.
- Process allowance: material reserved for grinding, lapping or polishing.
- Inspection: measurement method, measurement locations and rejection criteria.
- Production requirement: batch size, changeovers and the number of accepted parts required.
Keep as-cut and finished-part requirements separate. If finishing follows slicing, agree which dimensions must already be achieved at the saw and which will be established later.
Which quality checks matter after slicing?
Use a written inspection plan. Terms such as “high precision” or “micron accuracy” do not specify which characteristic is measured, over what area, or under what conditions.
| Check | What to record | Why it belongs in the trial |
|---|---|---|
| Slice thickness | Measurements at agreed locations and the permitted variation | A single measurement cannot describe the whole slice |
| Edge condition | Chip location, size and the agreed inspection method | An acceptable edge depends on the drawing and subsequent processing |
| Surface condition | Visible marks and any specified roughness measurement | Appearance should not substitute for a defined surface requirement |
| Finishing allowance | Stock available for the next process | The slice must remain usable after required finishing |
| Accepted output | Parts meeting all criteria, with rejected parts recorded separately | A fast cut is not useful if the resulting parts fail inspection |
Axis positioning specifications and measured cut-part results should be reported separately. Ask for evidence on a representative workpiece before treating a machine specification as a guaranteed part tolerance.
How should material and fixturing be reviewed?
Document how the blank is located, supported and held, including how the final slice will be supported as the cut finishes. Include loading, unloading and any bonding or debonding steps in the trial review. A process that works on a conveniently shaped demonstration blank may need different preparation for the production part.
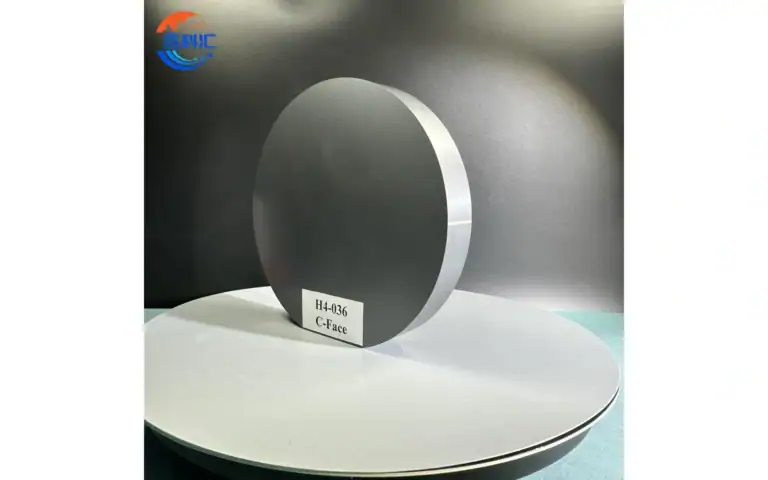
Keep material-specific requirements visible. For sapphire intended for LED substrates, connect the cutting discussion to crystal orientation, wafer geometry and the downstream process; the sapphire slicing application guide covers that application. Do not transfer an accepted recipe from one material grade to another without checking the result.
How do you compare an individual cut with batch slicing?
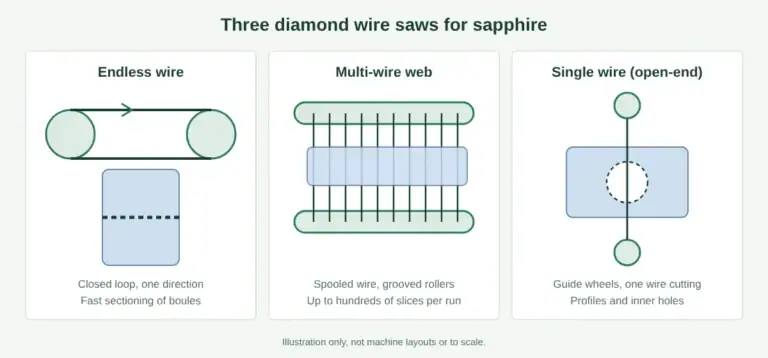
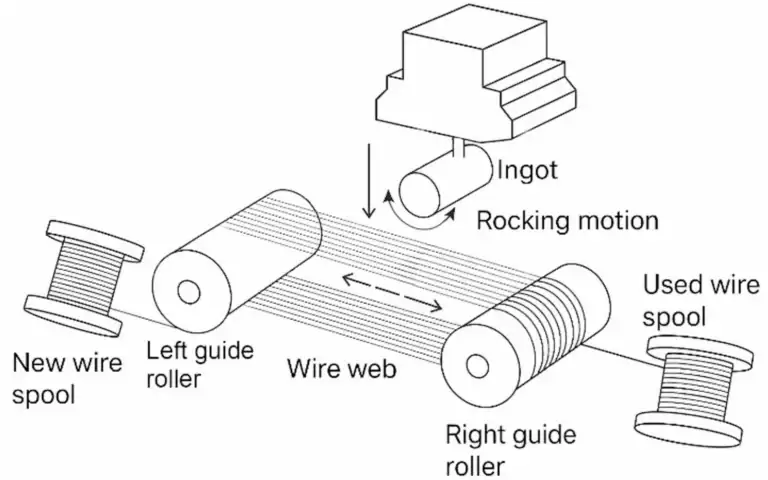
Define the job before selecting the machine architecture. For individual sections or changing part requirements, discuss the cutting sequence and setup flexibility. For repeated parallel slices, discuss the complete batch, including workholding, handling and the required slice arrangement. The multi-wire model overview provides a starting point for comparing the available batch-slicing configurations.
Evaluate total production time rather than wire speed alone. Record setup, cutting, unloading, cleaning and inspection. Compare accepted output under the same material and quality requirements; do not assume a universal productivity or material-saving percentage.
What should a representative cutting trial demonstrate?
- Agree on the drawing, material identification and inspection criteria.
- Use a blank that represents the intended production geometry and condition.
- Record the machine configuration, consumable specification, workholding and process settings used.
- Measure the resulting slices using the agreed procedure, retaining both accepted and rejected results.
- Review finishing requirements and repeatability before approving the production route.
There is no single feed, wire or cooling recipe established by this guide. Those choices require the applicable equipment documentation and a trial for the actual material. If a trial succeeds only under a narrow set of conditions, record that limitation along with the result.
Where should equipment selection begin?
For the SG20 equipment referenced in this article series, consult the SG20 product page and request confirmation of the configuration applicable to your drawing. This guide does not establish a minimum slice thickness or a guaranteed cut accuracy for that model.
Send the material, blank dimensions, target thickness, finishing allowance and inspection requirements through our cutting application enquiry page. These inputs make it possible to define a useful trial and compare equipment against the same acceptance criteria.