Cutting Crystal Samples for Research: A Lab Guide
How to cut crystal samples for research: define the analysis plane, preserve identity and plan mounting, release and inspection before the trial.

“How to cut crystal samples” is first a question about the feature the analysis must retain. Mark the region, choose the required plane and reserve the stock the analysis team will remove later. A convenient external face is not necessarily the right section through an interface or defect.
The best answer to how to cut crystal samples is a traceable cutting plan. Preserve location and orientation through mounting, release and packaging; otherwise a neatly cut section can arrive at the instrument without the information needed to interpret it.
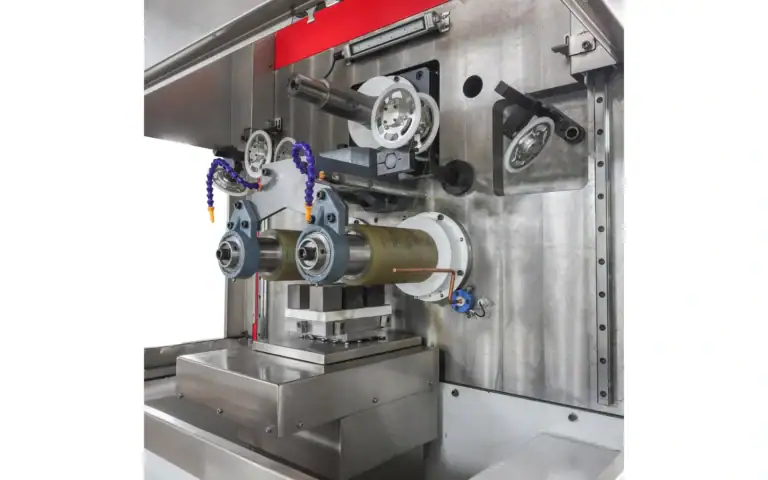
Vimfun SOM200 is a small-format batch-slicing reference for multiple research blanks. It is not a universal answer to how to cut crystal samples: the required feature, plane, support and receiving analysis must determine whether that arrangement is appropriate.
How to Cut Crystal Samples without Losing the Research Question
Write down what the sample must reveal. Identify the region of interest, required plane and features that cutting or later preparation could alter. A geometrically convenient slice can miss the feature the experiment was intended to examine.
The crystallography overview provides background on crystal structure. For a particular study, use the research drawing and measurement plan to define the sample. The word “crystal” alone does not establish material identity or the required section.
Where did each section come from?
Assign a sample identifier before preparation and photograph the whole specimen with reference marks. Record which regions will be cut, retained or excluded. If the specimen is unique, agree on the material budget and destructive steps before machining.
When deciding how to cut crystal samples, include the analysis plane's relationship to existing features. The plane may need to pass through a defect, interface or specified location rather than simply lie parallel to an outside face.
Keep the map with the resulting pieces. A series of visually similar sections is difficult to interpret if their original positions and orientations are lost.
Establish Material and Orientation Information
Obtain the material identification available from its supplier or research record. Distinguish a single crystal, polycrystalline material and glass where relevant. If composition or orientation is unknown, describe the uncertainty rather than assigning a familiar name from appearance.
How to cut crystal samples for an orientation-sensitive test requires a reference that can survive mounting. Define the plane, directional convention and any allowable deviation in the research specification. Identify which organization or instrument verifies it.
An external mark can record a reference, but it is not itself proof of lattice orientation. Do not replace the intended measurement with an informal alignment estimate unless the research protocol explicitly permits it.
What will analysis preparation remove?
A sample may need material allowance for grinding, polishing or other preparation. Ask the analysis team what it must receive and which surfaces will be altered later. The saw's target should reserve that allowance without consuming unnecessary specimen volume.
In a plan for how to cut crystal samples, distinguish as-cut thickness from final analysis thickness. Include any minimum thickness needed for handling or mounting in the receiving instrument. A thinner sample is not automatically a more useful sample.
If the specimen is scarce, state how many sections are required and which additional material can be consumed for setup or exploratory cuts. Avoid discovering those needs after the sample is already divided.
Choose a Setup for the Actual Research Batch
Choose a laboratory cutting saw by the region of interest, specimen dimensions and required section plane. A single section and a batch of repeated blanks can call for different equipment arrangements. First mark the analysis plane, mount the specimen so that plane remains identifiable, cut with a compatible procedure, release with support, and label each section for the receiving laboratory.
An individual section may justify a different arrangement from many repeated blanks. Workpiece dimensions, permitted mounting area and access to the intended plane influence the choice. Compare equipment with the mounted specimen rather than only the bare outside size.
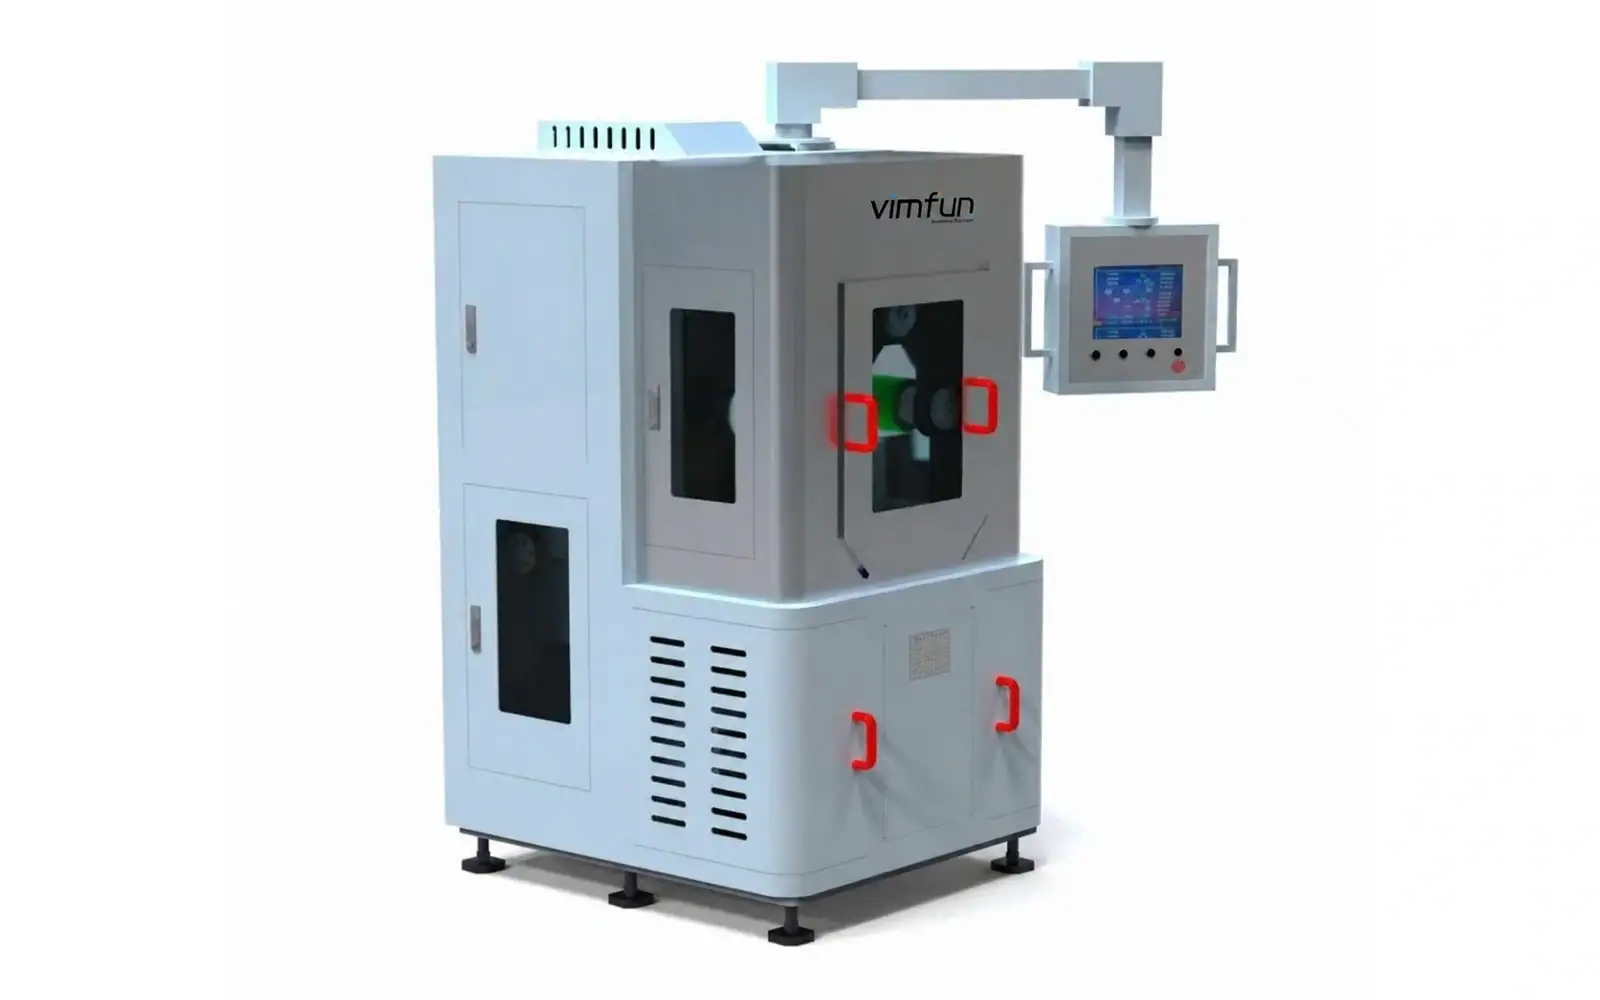
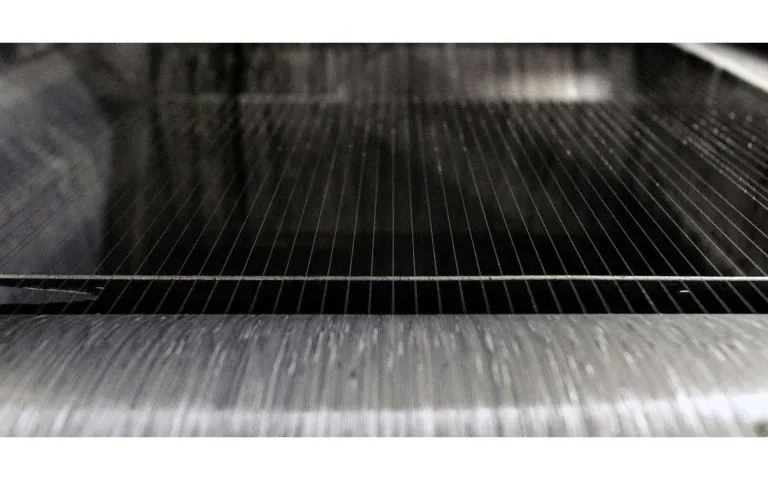
The precision diamond wire saw provides context for individual research cutting. A small multi wire saw provides context for repeated small-format slices. These are different project options, not a guarantee that every specimen fits either configuration.
How to cut crystal samples should be resolved with representative material where available. A surrogate may help assess fixturing, but its result must be labeled as a surrogate test rather than performance on the actual research crystal.
Protect the Feature during Mounting
The attachment arrangement must locate and support the specimen without obscuring required references or damaging the region of interest. Photograph the setup and record which surfaces are in contact with the fixture or attachment material.
For how to cut crystal samples that will undergo sensitive analysis, ask whether bonding, fluid contact or debris could affect the measurement. Compatibility should be assessed by the responsible research team using the actual method, not assumed from another material's successful process.
Plan release before the cut. If detachment could alter the feature, that step is part of the experimental route and should be documented alongside cutting.
Give the original specimen an ID and identify each intended section relative to it. “Sample A, section A-1, reference face marked” is an illustrative labeling scheme, not a case history. Use whichever scheme the laboratory already controls, but keep the mapping unambiguous.
For the question “how to cut crystal samples”, I'd ask the analysis team three questions before selecting attachment: which region must remain untouched, which substances may contact the specimen and which surfaces will be removed later. The fixture and release route should follow those answers.
The trap is introducing a preparation feature and then interpreting it as an original material feature. Retain pre-cut photographs and the process record. How to cut crystal samples for a defect study therefore includes an agreed way to distinguish preparation effects, not just a target thickness.
Keep the section map.
Record What Happens during the Cut
Use the equipment's approved procedure and retain the relevant selected conditions. Note interruptions, changes and unusual observations. If the process evolves during a series, connect each section to its position and the condition under which it was produced.
How to cut crystal samples reproducibly is partly a recordkeeping question. A successful section without a process history may be difficult to reproduce or compare with a later experiment. Preserve both the output and the route used to create it.
Do not assign causation from one observation. A changed surface may reflect material location, tooling, mounting or handling. Use controlled comparisons when the study needs to distinguish those effects.
Was the feature present before sectioning?
The analysis must account for the possibility that preparation changes the specimen. Surface marks and fracture features should not automatically be classified as pre-existing defects. Retain the original photographs, cut map and process history for interpretation.
NIST's ceramic and glass fractography work provides background on examining fracture origin. A particular research sample still needs appropriate expert analysis; a cutting report cannot identify every defect from a photograph.
For the question “how to cut crystal samples”, specify whether a damage study or preparation control is required. A reference section or retained uncut material can be useful if the research protocol calls for comparison, but its role should be defined by the study rather than added without purpose.
Release, Package and Label the Sections
Keep sample identity and directional reference with every piece. Where order matters, use a sequence that the analysis team can reconstruct. Document rejected or broken sections rather than silently omitting them from the returned set.
Follow approved cleaning and handling procedures compatible with the material and analysis. If the sample cannot be cleaned without changing a feature, explain the condition in which it is delivered and let the receiving team determine the next preparation step.
A plan for how to cut crystal samples ends with the analysis handoff. Confirm the carrier, label format, dimensions and process records that the receiving team needs.
Give Each Section a Research Purpose and Identity
Draw the feature that the analysis must retain before drawing the cut. Identify its location relative to surviving reference surfaces and explain how the receiving laboratory will find it after separation. A convenient rectangular sample may be useless if preparation removes the region the experiment was meant to examine.
The question “how to cut crystal samples” should include the later preparation route. Ask which surfaces will be ground or polished and which observations must be made beforehand. Keep the reserved stock and analysis plane separate from the nominal dimensions of the piece sent back by the cutting supplier.
Create the sample names before machining begins. If one parent becomes several sections, define their order and any retained offcuts. The operator needs a naming scheme that works during mounting and release, not an analysis spreadsheet that can only be interpreted by the researcher afterwards.
State which checks are intended to distinguish an original feature from a preparation observation. A photograph taken after cutting cannot establish that a crack or mark existed before cutting. If the experiment depends on that distinction, preserve the applicable before-state evidence under the laboratory’s method.
For the question “how to cut crystal samples”, a pilot section can be useful when the locating or release plan remains uncertain. Identify it as a pilot and record what it resolves. A successful convenient section does not automatically establish that the target region in a different position can be prepared with the same support.
Keep deviations visible. If the region cannot be reached using the proposed mounting surface, return the question to the researcher before moving the cut. A slightly different sample can answer a different experiment; it should not be relabelled as equivalent without agreement.
The returned package should let the analysis team begin without reconstructing the job. Include identities, locations, retained direction, processing state and any unresolved observations. This record is not administrative decoration. It preserves what the physical piece means, which is often the most important feature of a research sample.
| Decision field | Evidence to retain |
|---|---|
| Research purpose | Feature, plane and later preparation route |
| Location | Parent identity, section order and direction |
| Evidence | Before-state record and preparation deviations |
Choose the Page That Answers Your Question
This article answers: How can sectioning preserve the feature, location and identity required by the experiment? It does not replace the following equipment or application scopes.
| Your question | Relevant page | Boundary |
|---|---|---|
| Need the precision diamond wire saw context? | precision diamond wire saw | Equipment configuration and its stated scope |
| Need the small multi wire saw context? | small multi wire saw | Equipment configuration and its stated scope |
FAQ
How to cut crystal samples when the outside face is not the analysis plane?
Choose a section that locates the required analysis plane instead of automatically following the outside face. How to cut crystal samples starts with the research feature, not fixture convenience. Document the relationship between the feature, stock references and the proposed section.
How to cut crystal samples that need later polishing?
Agree the preparation reserve and inspection sequence with the receiving laboratory. Record the as-cut condition separately. A final-looking surface is not helpful if making it removed the feature or obscured evidence the experiment needed.
How to cut crystal samples without misassigning defect origin?
Preserve the necessary before-state evidence and processing record when the experiment depends on origin. How to cut crystal samples without losing that distinction requires a documented inspection sequence. Otherwise report the observation and its uncertainty rather than assigning a cause the evidence cannot establish.
Send a Complete Research Cutting Request
Provide material identity, specimen map, region of interest, intended plane, blank thickness and later preparation allowance. State attachment restrictions, accepted defects and the measurement method used to evaluate the output.
Send a marked specimen map, desired plane, region of interest and preparation allowance to the cutting team. Approve attachment and release compatibility with the analysis team. Return each section with location, orientation and process history. Use that record to answer how to cut crystal samples reproducibly without losing the evidence the experiment needs.