
Equipment comparison
Wire Saw vs Sectioning Saw: Which Fits Your Cut?
Wire saw vs sectioning saw selection starts with the output: one inspection specimen, an individual profile or a batch of parallel slices. Match the cutting arrangement to that job before comparing speed or material loss.
Wire saw vs sectioning saw: start with the required cut
A precision sectioning saw is often the practical starting point for removing one specimen at a defined location. A single-wire machine deserves a closer look when the blank geometry or required contour does not suit a circular blade. A multi-wire system addresses a different job: producing a batch of parallel slices from one mounted blank.
These categories overlap. A precision wafering saw can make thin sections, and a wire saw can make a single section. Compare the actual machine, fixture and consumable against the drawing rather than treating the equipment name as a performance specification.
How the cutting tools differ
A blade-based sectioning machine removes material with a rotating disc. The blade, its support flanges and the fixture determine the accessible cut. A diamond sectioning machine describes the abrasive tool; it does not establish the machine’s usable capacity or the damage left on a particular specimen.
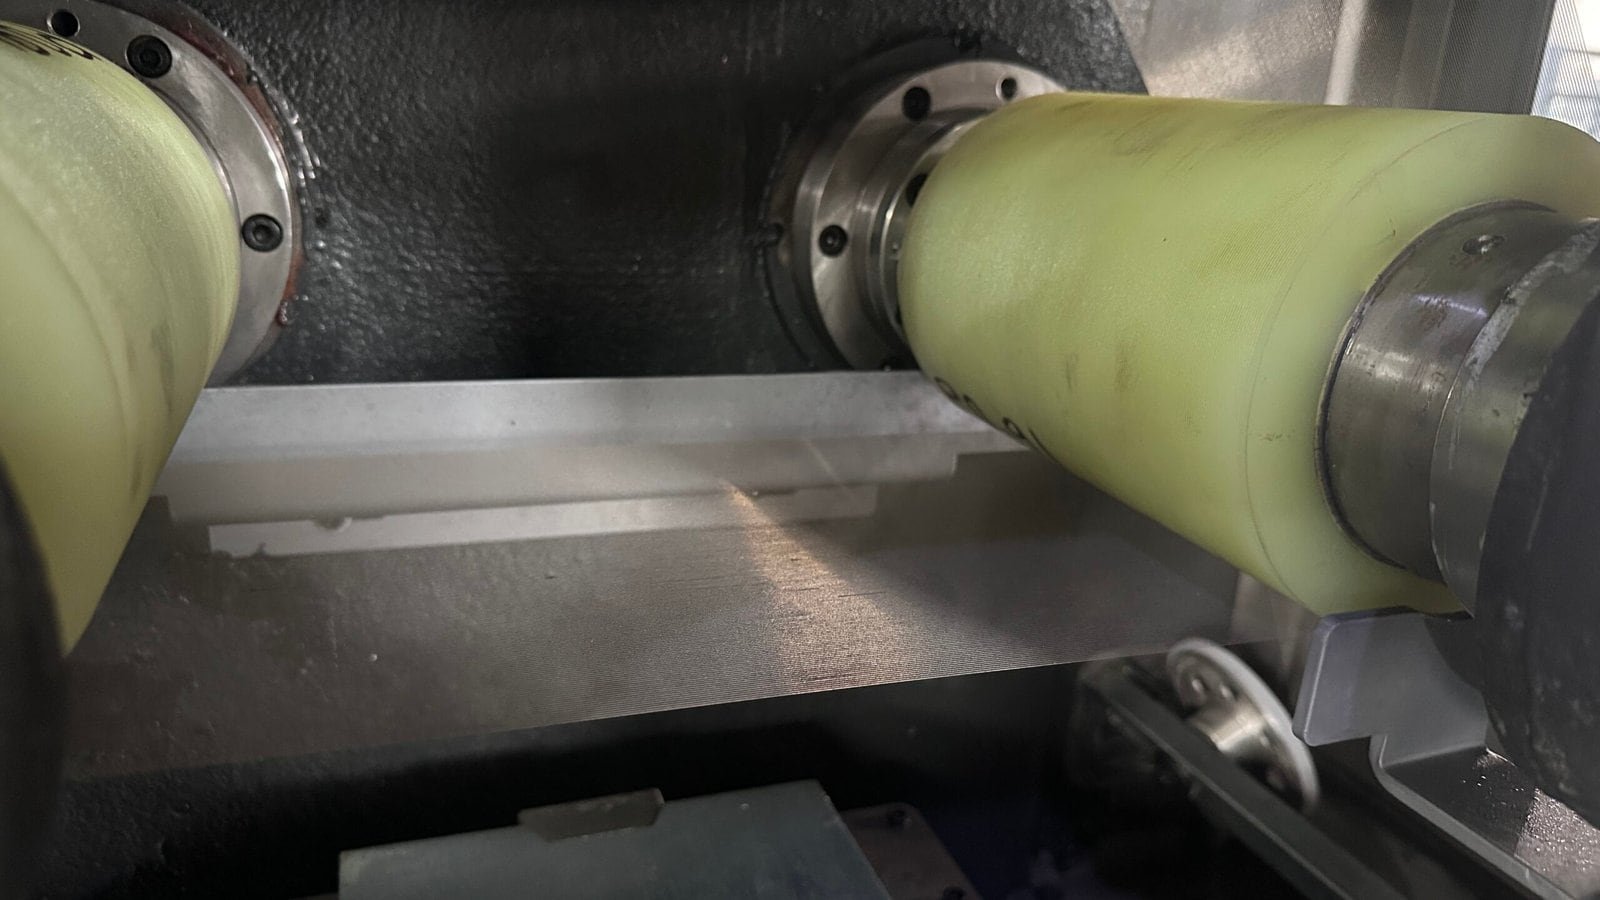
A spooled single-wire saw guides an abrasive wire through the cutting zone. Tool access and supported workpiece motion determine the possible path. In a multi-wire arrangement, repeated passes of wire form a web with several cutting lines. The mounted blank enters that web to produce parallel slices.
Here, “sectioning saw” means a precision blade machine for specimen preparation, rather than a general workshop chop saw.
Compare the setup, not just the nominal kerf
| Decision | Single / multi-wire | Precision sectioning saw |
|---|---|---|
| Required output | Separate individual paths from batch parallel slicing. | Check specimen location, cut depth and any indexed repeat-cut capability. |
| Usable capacity | Allow for wire guides, fixture, travel and blank orientation. | Allow for spindle, flanges, guard and fixture; blade diameter alone is insufficient. |
| Material consumption | Measure actual kerf and finishing stock; wire diameter alone is insufficient. | Check blade specification and measured cut width, then add finishing stock. |
| Surface acceptance | Check wire marks, thickness variation and edge condition on a trial. | Check deformation, edge condition and the material removed during polishing. |
| Batch economics | Include setup, accepted slice count, wire use and separation handling. | Include positioning, each cut, blade maintenance and accepted specimen count. |
Precision blades are designed to limit specimen damage. Buehler’s precision-cutting technical note explains why material, blade selection, feed and coolant affect the damaged layer. A blanket claim that blades always damage a sample more than wire is not a sound selection rule.
Three jobs, three selection priorities
One specimen for inspection
Start with where the inspection plane must fall. If the part fits securely in a blade machine and the chosen blade suits the material, that route may require little special tooling. For a low speed precision cutting machine, evaluate the complete cycle; a low speed setting is not itself evidence of low damage.
A profile or an awkward blank
Review the single-wire path, workholding and remaining section as the cut progresses. An internal opening needs a feasible wire-entry and threading arrangement. Do not infer internal-cut capability from a photograph of a vertical wire.
Repeated parallel slices
Assess a multi-wire web when the required output is a batch of similar slices. The useful comparison is accepted slices per setup, including loading, cutting, unloading and finishing. A large nominal slice count is of little value if fragile slices cannot be separated and handled reliably.
A useful comparison trial
Use equivalent material and the same finished-part requirements for both routes. Agree the inspection method before cutting, and keep results tied to their consumables and settings.
- Record the input: blank dimensions, material grade, orientation and fixture.
- Record the process: wire or blade specification, feed, tool speed, coolant and interruptions.
- Measure the result: actual kerf, thickness at defined points, edge condition and stock needed for finishing.
- Count accepted output: include handling losses and rejected parts after the agreed downstream step.
- Compare the full job: setup and operator time, consumables, finishing effort and accepted quantity.
Keep material loss and cut width separate. Material consumed per finished slice includes both the cut loss and the stock removed later. A narrower cut is useful only if the remaining slice meets the finishing and handling requirements.
Vimfun equipment to include in the review
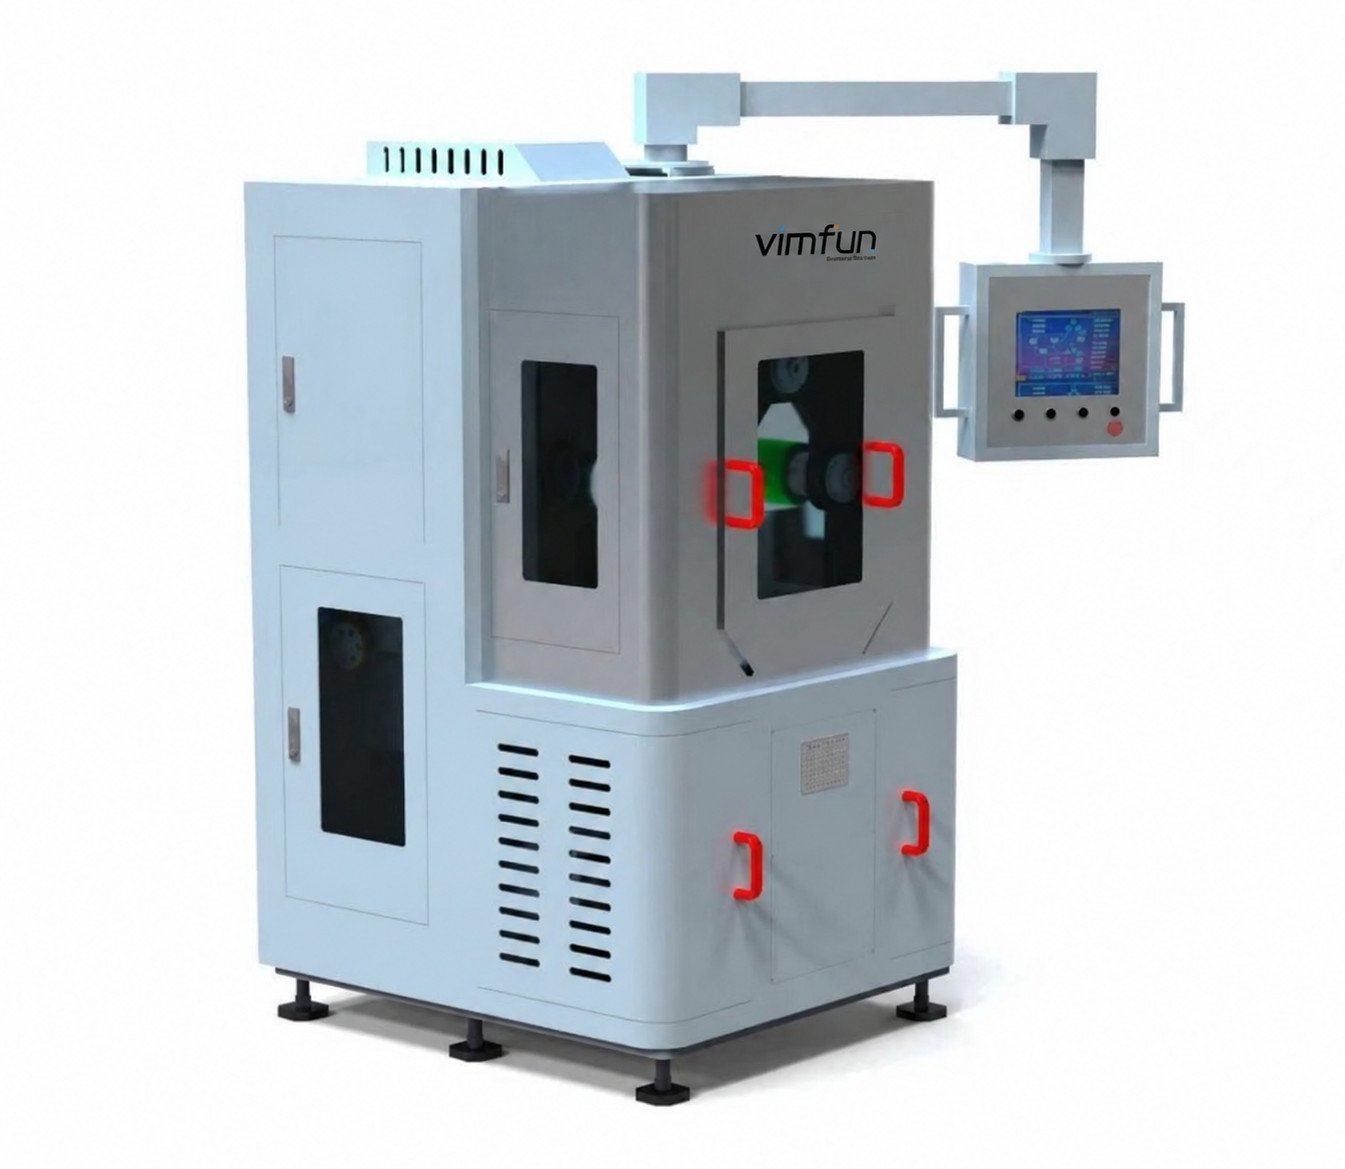
SVO-40
A vertical single-wire option for individual cuts and CNC profiles. Submit the blank and cut-path drawing to check access and workholding.
Review SVO-40 configurationSOM200
A compact multi-wire option for laboratory and pilot batches. Its listed workpiece envelope is 200 × 200 × 200 mm, with a 0.3–12 mm slice range; these are capacity values, not material-specific quality guarantees.
Review SOM200 specificationsFrequently asked questions
Is wire always cheaper than blade sectioning?
No. The result depends on accepted quantity, setup, consumables, machine time and subsequent finishing. Compare the cost of an accepted specimen or slice, using trial data.
Can a multi-wire saw replace every laboratory sectioning saw?
No. A wire web is organized around parallel slicing. Locating a single inspection plane in a varied collection of parts can be a different task, with different fixture requirements.
Does either method eliminate lapping or polishing?
That depends on the acceptance criteria. Specify the required final surface and determine the finishing allowance from samples rather than omitting the finishing step in advance.
Compare a representative sample
Send the material, blank dimensions, required cut and acceptance criteria. Include the number of pieces per batch and the planned finishing operation.
Discuss a sample cut